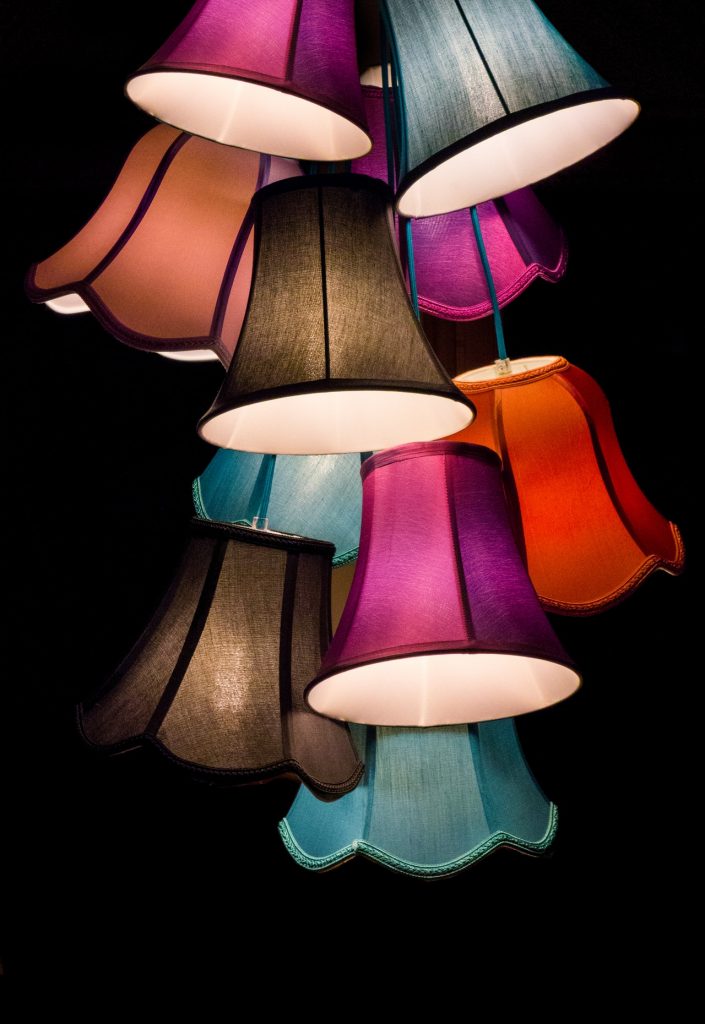
Did you know that you can replace light switches on your own at home? If your light switches fail to function while the other lights in the circuit work, it means the light switch has become faulty. If you want to introduce some creative light fixtures in your house, before you decide on contacting an electrician, you may try replacing it since it’s something easy. The article looks at how you can easily replace a switch in your house.
The process of replacing is procedural as shown below. Replacing the switch is a simple DIY activity instead of calling an electrician.
1) The first thing you do is power off the circuit from its supply. Then mark the switch you are replacing.
2) Then unscrew the exposed screws on the switch plate. This helps to locate the wire you are working on. Remove the whole switch from its attachment to have more working area.
3) Perform some circuit testing to make sure no power is running through the switch. In case there is some power, the switch is unsafe and therefore you ought to double check your circuit breaker. If there is power noticed on the tester, the switch is safe, and you can start working on it.
4) Remove the switch from the wall, and take note of the attached wires. The wires require to be removed; you do this by unscrewing the Philips’ heads. The 3rd attached wire is the copper earthing and needs to be removed too.
5) Then take the new switch that is similar to the initial switch. Then, carefully and correctly return all the wires to the right position on the new switch, also return all the screws to their correct positions. Doing this you will have successfully replaced the light switch in your house without calling an electrician. In case you like to change some creative light fixtures, it becomes easier for you.
However, for an excellent DIY light switch replacement, you need to understand the kind of switch you are replacing. There’re 3 kinds of light switches, the one way, two way and the intermediate switch. The switches are rated at 6-10 Amperes.

The one-way switch is suitable for lighting from one place, like a door. The two-way allows light to be operated at two positions while an intermediate switch allows light to be operated in more than 3 positions. The one way has two terminal, the two way has 3 while the intermediate has 4 terminals.
Most switches follow a similar making format. C stands for common while L1 and L2 representing other wires. In one way the C is red/brown while the L1 HAS a blue/black colour with some red or brown sleeve. For two way, the C maintains the colour, but the other wires L1 OR L2 maintains their identity. The single wire must be the common one for the switch to function normally.
The black/blue in any switch are the neutrals, and their connections must be maintained to prevent an electrical shock. The earth wire may be left on their own unless when using a metal switch they must be connected to the plate. Earthing is done using the copper wire that is sleeved with yellow or green colour.
After making the right connections, you can replace the switch to its position. Ensure all your wire are away from any screw. The tips make replacing the light switch very easy for any homeowner. You can use the tips when introducing creative light fixtures in your house.